|
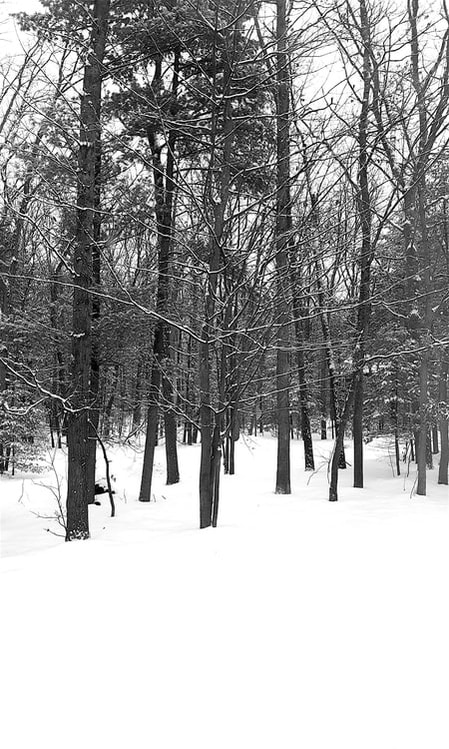
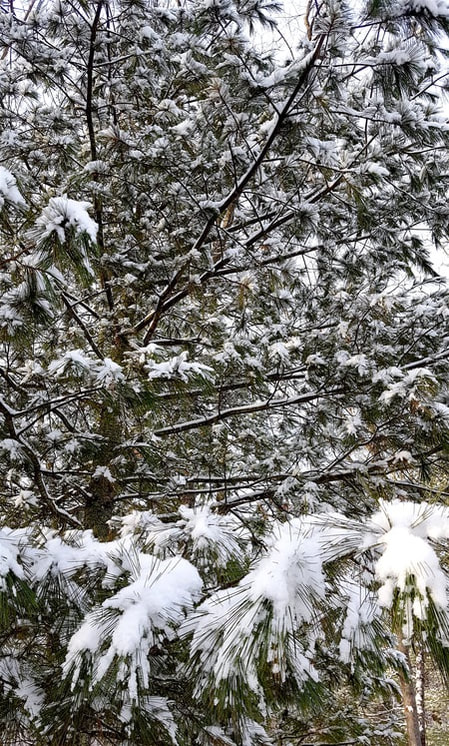
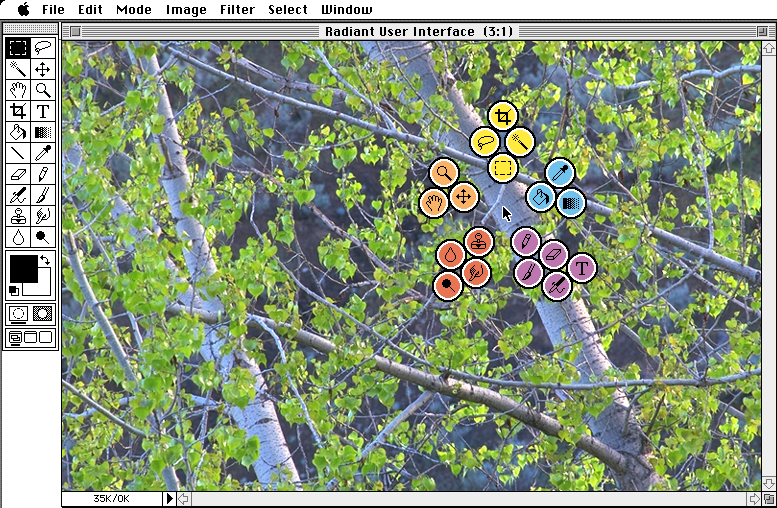
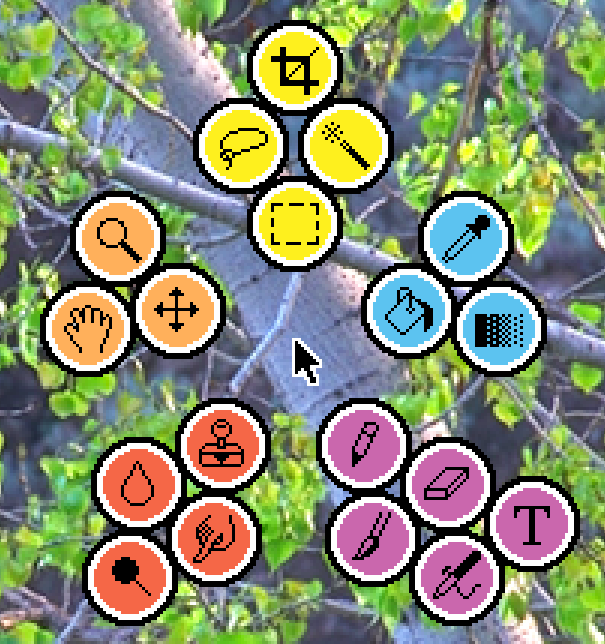
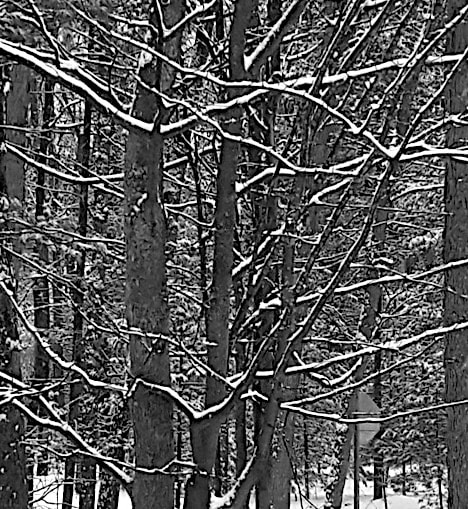
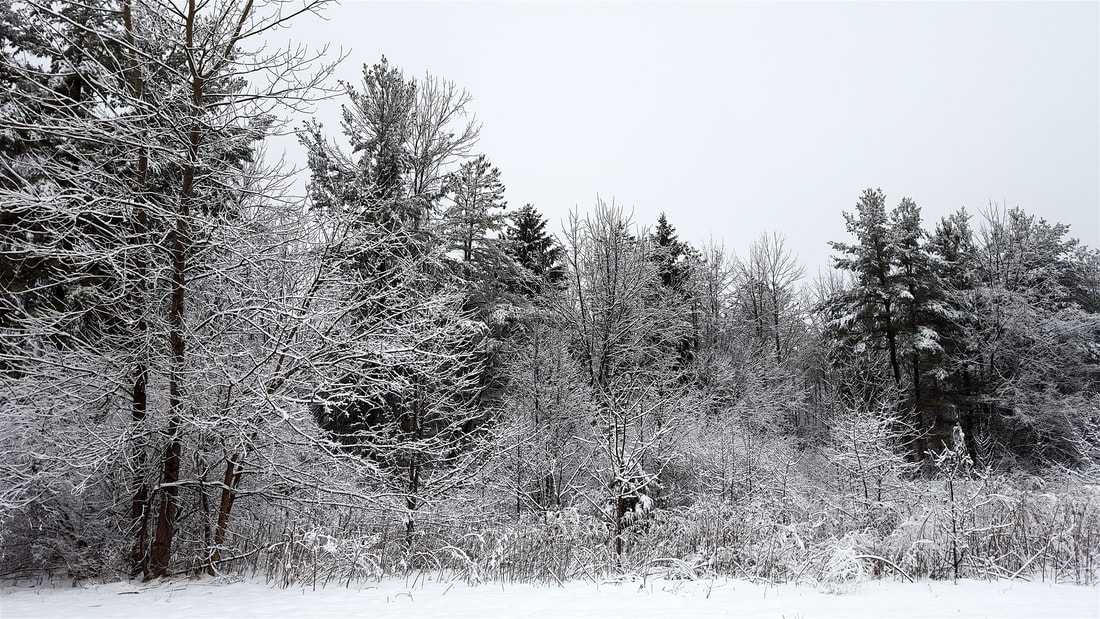
Snow has come to northern Michigan, and I'm reminded of how much I love seeing snow on branches. After all these years, I think I finally figured out why. In 1996 I designed a radiant tool interface for Photoshop. I was tired of mousing over to the toolbar on the left, selecting a new tool, and then mousing back over to my image to do some work. Over and over and over. My idea was to press a key and click, and instantly a set of tools would pop up right around my cursor, wherever it was on the screen. I made a fake screen to illustrate the concept. For all of you Mac users, you can see how long ago this was just by looking at the clunky type used for the menus. For the tool buttons, I used a white outline plus a black outline outside that. It's a technique I use when I need something to stand out against a background but when the background could be anything. The white line stands out against dark areas, and the black line stands out against light areas. Easy and effective. I realized today that's what's happening with those beautiful snowy branches. Each branch is white on the top and black on the bottom. Instead of all the trees blending together, every branch now stands out against every other branch. The amount of detail the snow reveals is staggering, and my eyes love it. I'll offer up a picture I took a couple years ago. The more I look at snowy branches, the more I want to look. Beautiful!
3 Comments
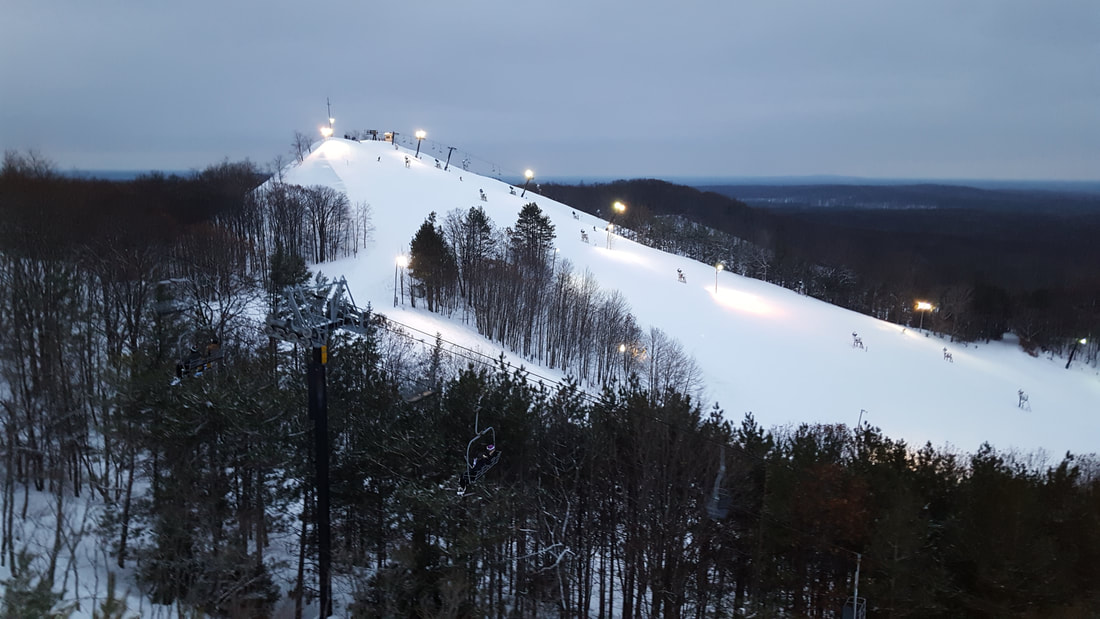
My daughter invited me to go skiing yesterday with a couple of her friends from college. My office was closed for the day, and Caberfae was less than an hour away, so YES!
Her friends hadn't skied before, so we spent a couple hours getting them comfortable on the slopes. I had an important teaching insight as they improved from "oh, no way I can do this", to "I want to go again!" Sliding on your feet is something most people try to avoid in normal life and many (most?) sports. While, it's generally a good idea and strategy for safety, learning to ski is about getting comfortable sliding on your feet. When I'm coaching hockey to new players, teaching them how to hockey stop usually comes up. The way I teach it is to skate backwards while I pull the player by their stick. With both feet facing forward, I have them try to turn one skate slightly sideways with just the slightest pressure so they can feel the blade sliding on the ice without digging in. They look like they are partially pigeon-toed. I keep pulling them until they are able to slide one and then the other skate sideways on the ice without digging in. Then we move to the next step. I have them skate towards the boards, glide, and then turn one foot slightly sideways. Using the same sliding feeling they learned when I was pulling them, they gently scrape one blade sideways on the ice, adjusting the pressure so they slow under control and come to a stop right at the boards. It works like a charm. A couple more times, and they now trust that they can slide to a stop under control. It changes everything for a new skater. For these new skiers, learning to stop worked the same magic. My daughter and I would have them head down the smallest hill, toes together, and try to get comfortable with sliding under control. The trips back up the rope tow were chances to practice turning one ski sideways and adjusting the pressure. Like me pulling a new skater, the rope tow pulled the new skiers and let them practice without stopping. Less than 10 runs later, they had the confidence they could control their speed well enough and stop whenever they wanted. We headed to the big hill. We were all rewarded with a spectacular view from the top, and the trip to the bottom was as slow as they wanted to go. Once they knew how to slide, and how to adjust pressure to dig in and stop, they really had a good time. They were skiing! The snow fell gently around us, and it was a great time. If a new skater or skier can learn that stopping is about keeping their balance while sliding the ski or skate sideways, they will quickly gain confidence and skill and have a lot of fun. Our house has a 44 foot hallway down the center that follows the roof ridge beam. I thought it would be cool to make a scale model of the solar system that ran the length. Kinda get a little perspective on our little corner of the universe.
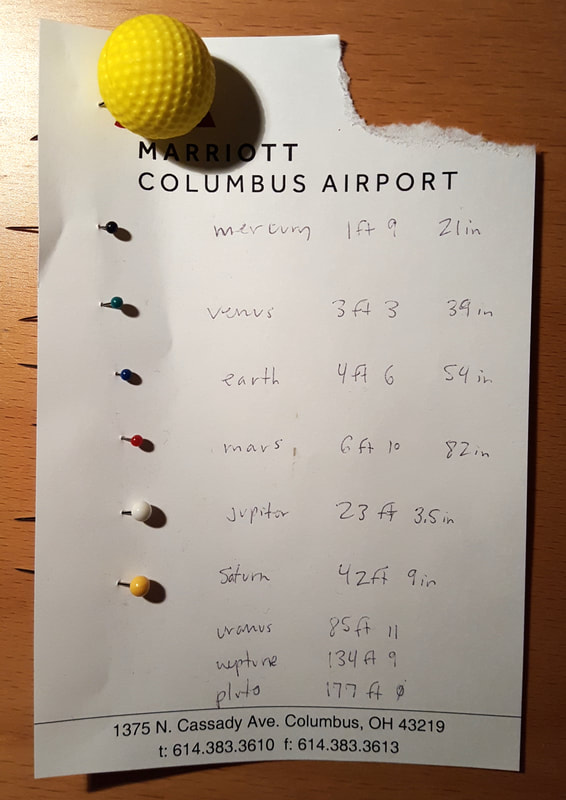
I found this cool site that lets you enter any size for the sun, and it tells you the relative size and distance for each planet. I entered 1/2 inch for the sun, and this is what I got:
Saturn just barely fit in the 44 feet, and the rest of the planets seemed much too far to worry about.
Stopping with Saturn seems like a decent model. I don't think the rest of the planets would be critical to getting the sense of the vast scale. I found some pins at a craft store. Big-headed ones for Jupiter and Saturn, and really small-headed ones for the other planets. I used a Nerf Bullet Ball for the Sun. The next step is hauling out the step ladder and sticking them in the ceiling at the right distances. I can already tell it's going to be cool. Just thinking about that tiny Earth being 4-1/2 feet from that little yellow sun is blowing my mind a little. I just bought a book called Show Your Work. The basic idea is that your creative work needs to be out in the world, and not just when it's completely done. That's where the magic happens. That seems perfect for where I am right now. It's the main reason I built this site.
Following the recommendations in the book, I'm going to try building a habit of a daily post. They'll be in one of five general categories:
I appreciate the tech people who have made this platform possible; the family, friends and mentors who have inspired me to build and share; and You, for being curious and someone I can share with. Gratefully, Scott |
Hi, I'm Scott MoehringI'm a designer, teacher, writer, inventor, hockey player, gamer, and lifelong learner. I like to make cool stuff and share it with curious people. Archives
January 2021
Categories |

 RSS Feed